In our last Cellar Build post, we talked about the huge challenge of finding the right door for our passive basement cellar. Read it here. Now that we’ve got a door, we need a wall to put it in!
The most important thing to note is that this wall is constructed of 2×6 lumber, NOT 2×4.

If you’re not a “lumber person” that simply means that our wall be around 6 inches thick, rather than 4 inches thick. This is important for two reasons:
- Thicker walls mean more room for insulation and more insulation is better! With a 6 inch thick wall, I can use 6 inch thick insulation which will give us around R-19. If I only had a 4 inch thick wall, the 4 inch thick insulation would only give R-11. Without getting into the details of the insulation in this post, let me just assure you that R-19 is much better than R-11.
- The exterior door I purchased is made for a 2×6 wall. If I built a 2×4 wall, the door would literally stick out of the front or back of the wall.
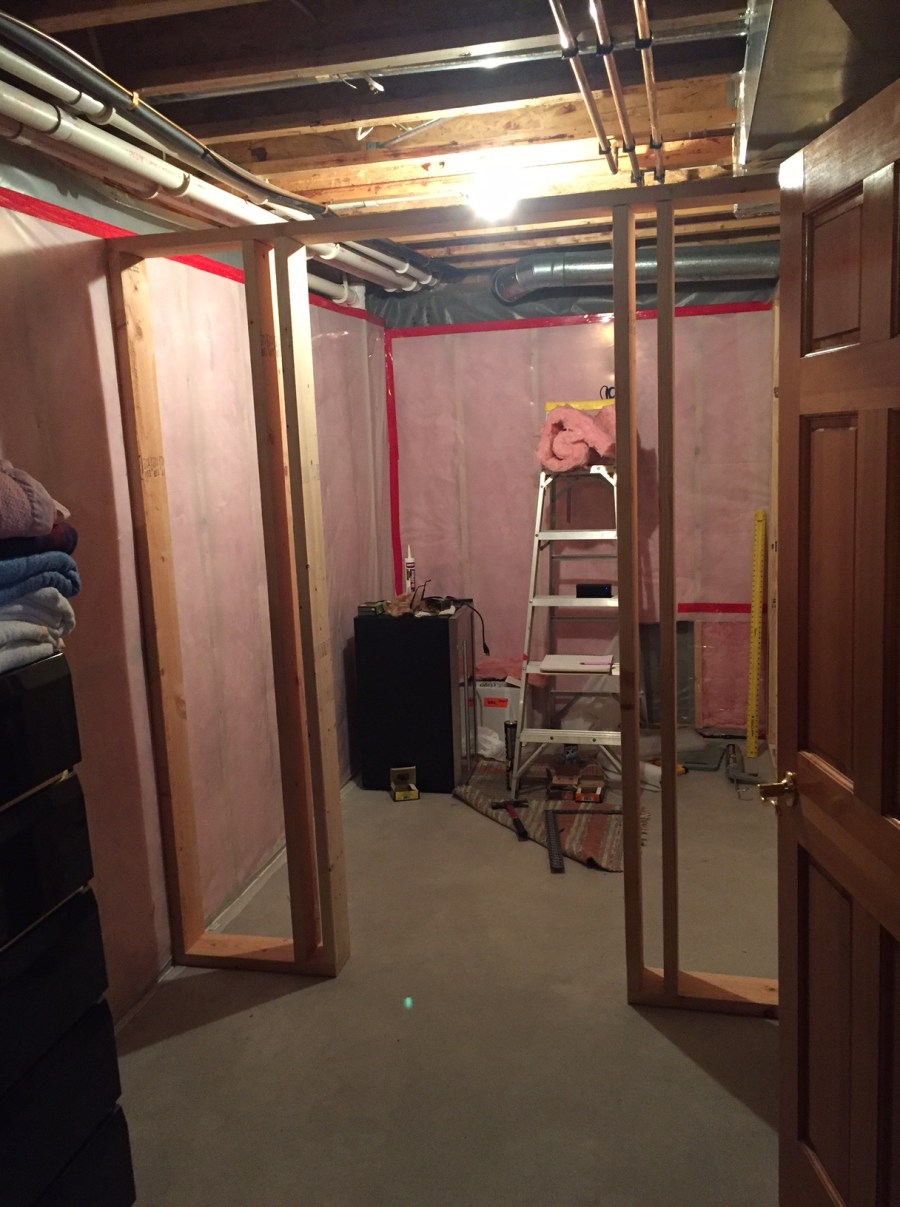
Before actually putting together the wall, I had to decide how tall the wall would be and where to put the door in the wall.
The height of this wall really depends on the height that I want for the ceiling of the cellar. I’ll share more about the ceiling in the next post but, for now, I’ll just say that I chose 82″ for the BOTTOM of the ceiling. At that height, I don’t need to move any of the ductwork or pipes that will be above the ceiling, and I still have plenty of room under the ceiling for the door and lighting and tall wine racks and my head and all that good stuff. Now, because my ceiling will be constructed of 2x4s, that means that I need to ADD 4″ to the bottom of the ceiling (82″) to get my total wall height of 86″.

The location of the door was a pretty simple matter. Obviously there will be wine racks along each wall inside of this door. To minimize the chances of a door or a person hitting wine bottles as they go in and out of the cellar, I want the door opening as far away from both of those racks as possible. So, smack dab in the middle of the wall it is. The 22″ on either wide of the door will give me plenty of room for the wine itself.
Why the two boards (studs) so close together? The standard for a wood stud wall is to space the studs 16″ apart on center. This provides the appropriate amount of structural strength and ensures that standard size rolls of insulation will fit perfectly into the opening between the studs. So, in this case, the large opening is the 16″ opening and the smaller opening is simply the remainder after the standard size opening.
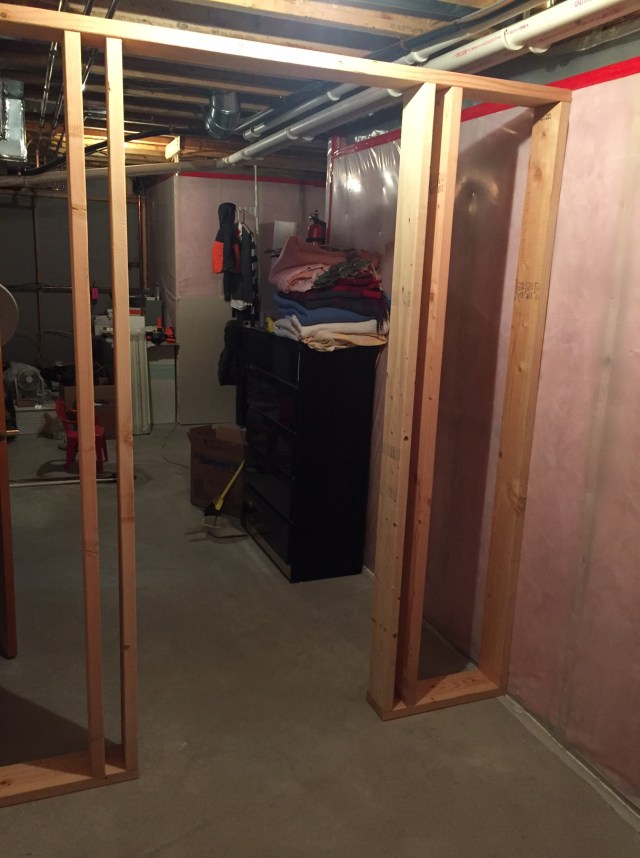
Once the wall was built and fitted into place, I nailed it to the two existing walls on either side. It was remarkably strong and stable at that point. But to really do the job right, it also needed to be connected directly to the floor. If you don’t connect the wall directly to the floor, you can pretty easily kick the bottom of the wall and have it slide around. (FYI… moving walls is not desirable.) You really need to lock it in place.
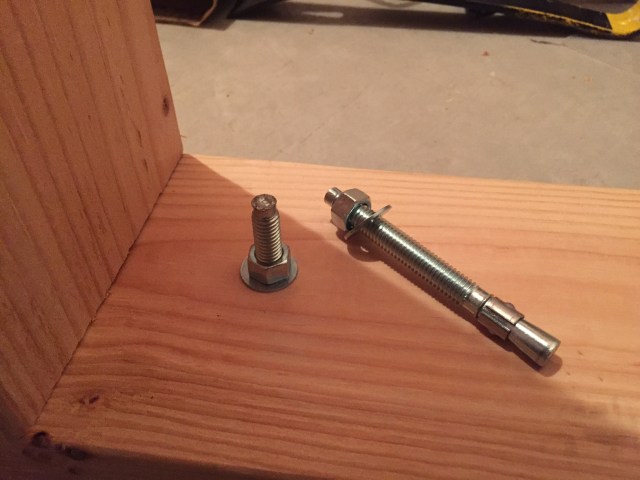
Since we’re building on a cement slab, this isn’t an easy task. You can’t just drive a nail into the cement. So, you need a way to get a fastener into the cement. There are plenty of options for this, but I chose a method where you drill a hole into the floor and then pound a special bolt through the bottom board and into that hole. Here’s a great video that walks you through that whole unholy hole drilling process. It is NOT easy, but I promise you it can be done.
Here’s a couple pics of my project as proof. Rock solid now!

Next up, we’ll tackle building the ceiling! Then electrical and insulation. Lots to do!
